Step 1
Cut 12 strips of paper or card, each about 6" by ¼" (15 cm by 0.7 cm).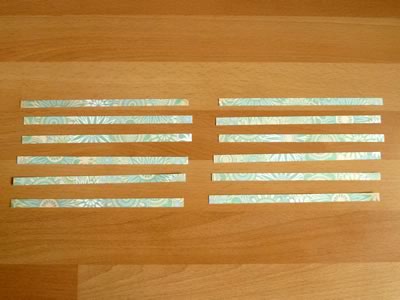
Step 2
Take two of the strips and fold them in half. This is so that you'll be able to see where the center of each strip is for the next step.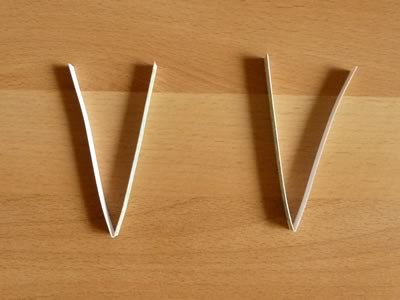
Step 3
Take one of the two strips you folded and place it vertically on the table, then glue a small patch at the center of the strip with your glue stick. If your paper has a colored side and a blank side, then make sure you put it colored-side up.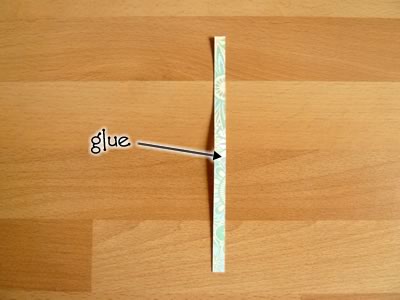
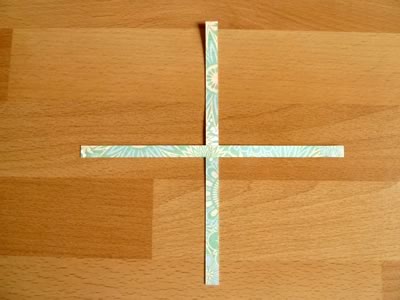
Lay the other strip across the first strip at right angles so that the two get glued together.
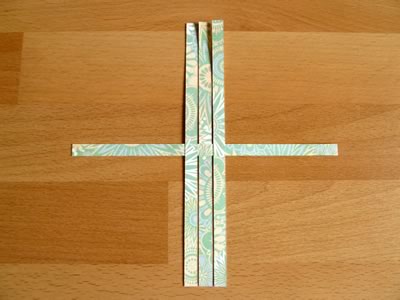
Step 4
Glue two small patches of glue on the horizontal strip, as indicated here: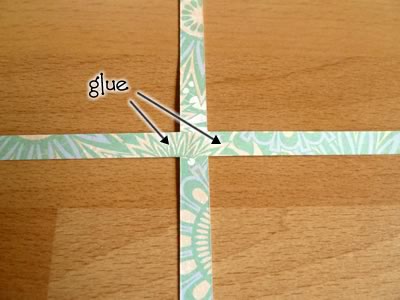
Place two more strips vertically next on either side of the first strip onto the patches you just glued.
Step 5
Put down small patches of glue in the positions indicated here: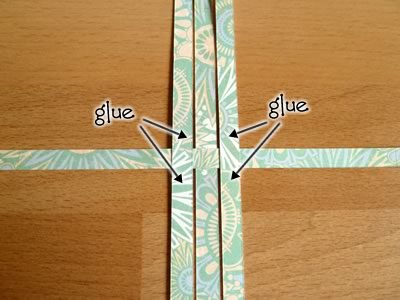
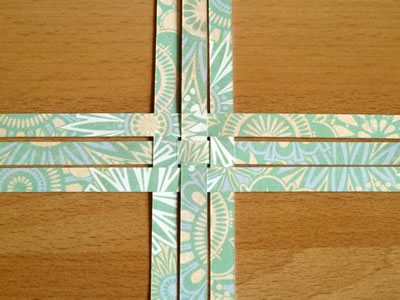
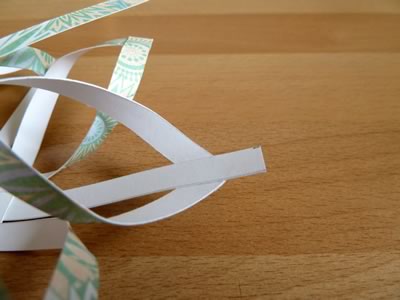
Place two more strips horizontally, so that they weave over and under the strips that are already there. They will get glued down with the patches of you just glued.
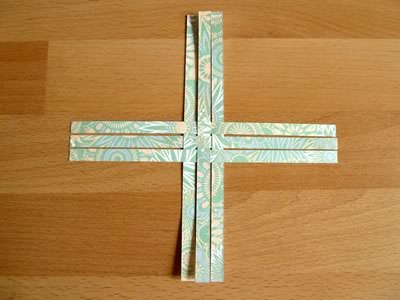
Here's a close-up showing how the strips are woven:
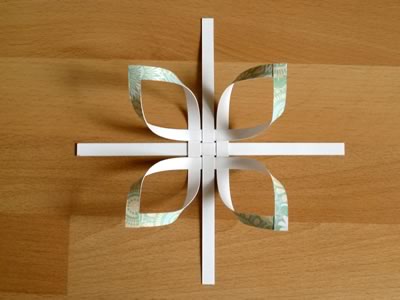
Step 6
Turn over the mat you've woven, so that the blank side faces up. Then put glue on the tips of the strips, as shown in the picture below: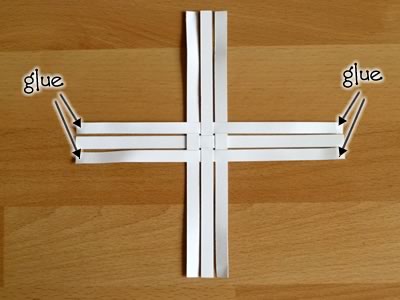
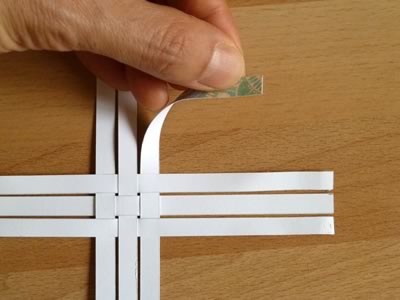
Take hold of the top-right strip, and bend it over like this:
Then take of the strip next to it, bend it over, and glue it to the first strip to make a "petal" like this:
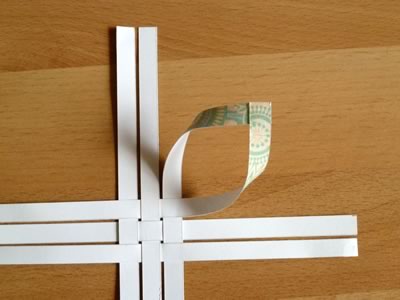
Repeat for the other four corners. Your half-finished star should now look like this:
Step 7
Repeat steps 2 to 6, so that you have two half-stars like this: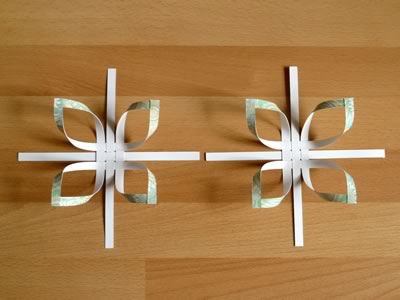
Step 8
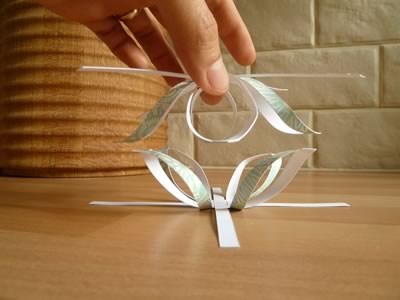
Place one half star on top of the other, offset by 45 ° so that the "petals" of one half line up with the strips of the other half. Also, the petals of the two halves should face inward so that the two halves "hug" each other.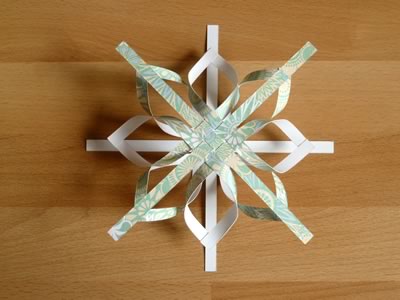
Here's a side view showing how the petals face inward:
Step 9
Put glue on the tip of one petal, as indicated here: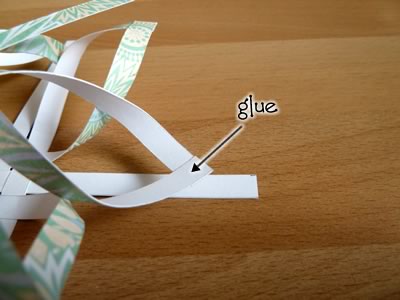
Feed the strip through the loop of the petal, and glue it to the petal, as shown below. The strip should extend roughly ¼" (between 0.5 and 1 cm) beyond the petal, depending on how long your strips are. Basically when you put the halves together you'll see that the strips naturally extend a bit beyond the petals, and you just want to glue them in the position they are naturally in.
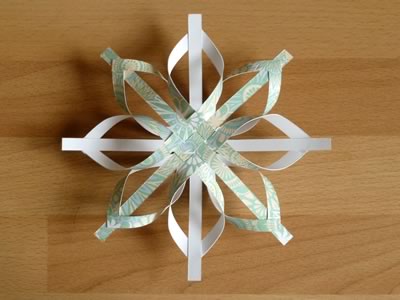
Do the same thing for all the other pairs of petals and strips. Your star should now look like this:
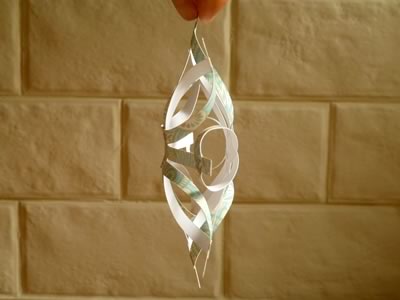
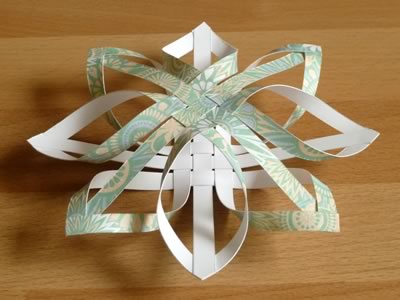
Here's a side view of the star once all the strips and petals are glued together. As you can see it has a nice kind of 3D look.
Step 10
Optionally, you can trim the arms of the star so that they end in points like this: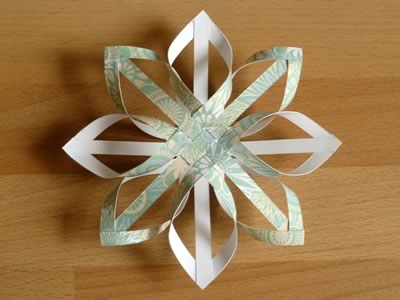
Here's an angled photo of the finished star with trimmed points:
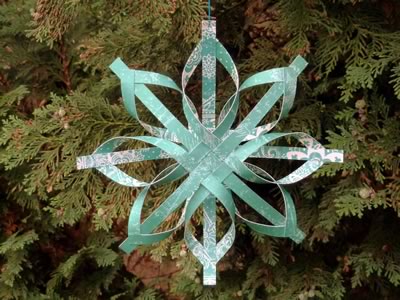
Finished!
Star hanging on the Christmas tree:
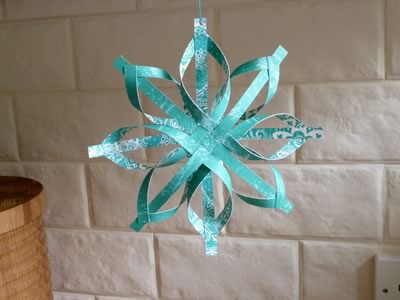
Another star ornament hanging in my kitchen, just for the fun of it :-)
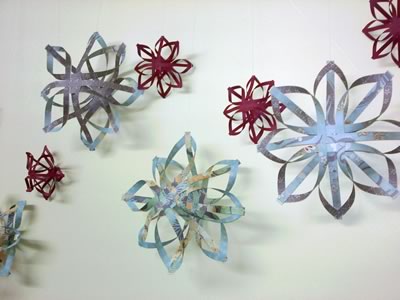
Here are some stars that reader Heike made to brighten up her office wall- thanks for sending in your photo Heike!
No comments:
Post a Comment