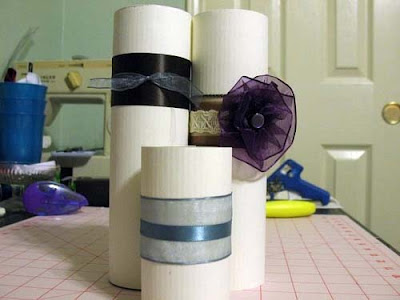

Supplies:
-Ribbon (I used 1 1/2" width w/ the wire-lined edges- it stays in place better) OR 44"/45" fabric (I used special occasion fabric).
-coordinating thread -needle -buttons, beads, (or you can just use thread), to use as embellishment
How To:
Thread your needle and tie a knot at one end. Put aside to be used for later.
For Ribbon:
Cut about 22"-24" of ribbon from your spool.
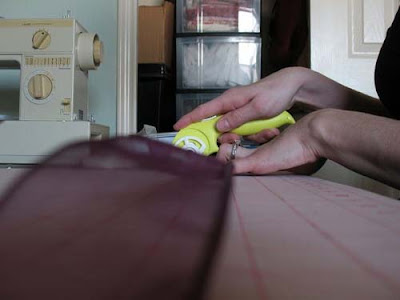
For Fabric:
Fold fabric in half, selvage to selvage. After squaring up your fabric , cut a 1 1/2" wide strip.
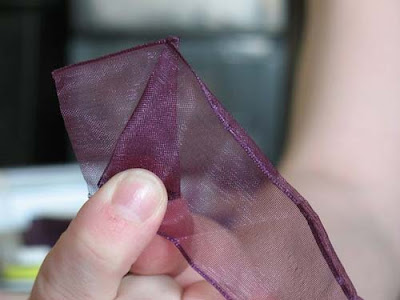
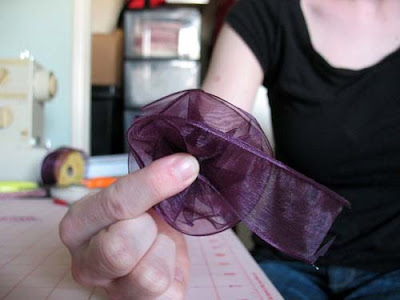
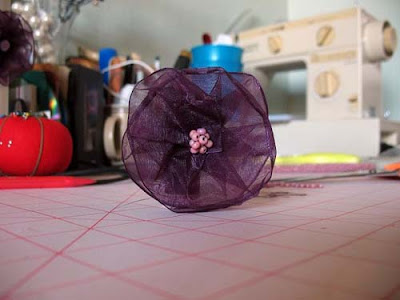
Start by folding over the ribbon/fabric on one end to make a pleat like this:
Continue holding the pleat against the edge of the ribbon/fabric with one hand. This will be the center of the flower. Continuing making new pleats towards the center while holding the existing pleats together:
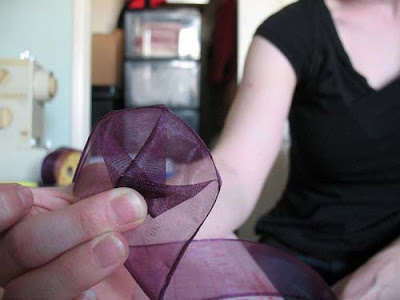
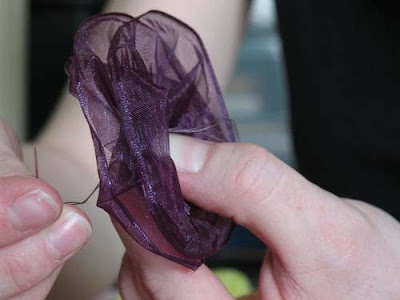
Continue this process until you reach the starting point:

Begin a new row on top of the first row, while continuing to hold the ribbon/fabric together at the center. Pleat until you can pleat no more!...um, or until you have reached the end of the ribbon/fabric:

Collect the threaded ribbon and sew through the middle of the flower, making close, small stitches:
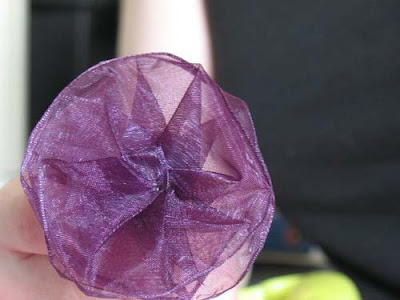
Make sure the flower stays together without having to hold it.
Petals:
To make petals (as I did with my shoe flowers), I just used a small pair of scissors to cut petal shapes into the fabric. I also sewed a glass-like button to the middle of the flower.
Embellishments:
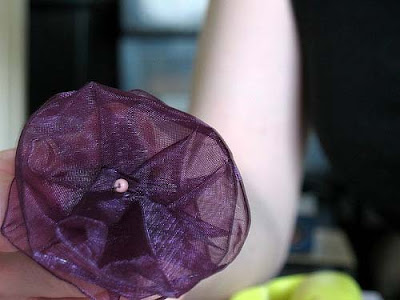
Add anything else as you see fit :)

No comments:
Post a Comment